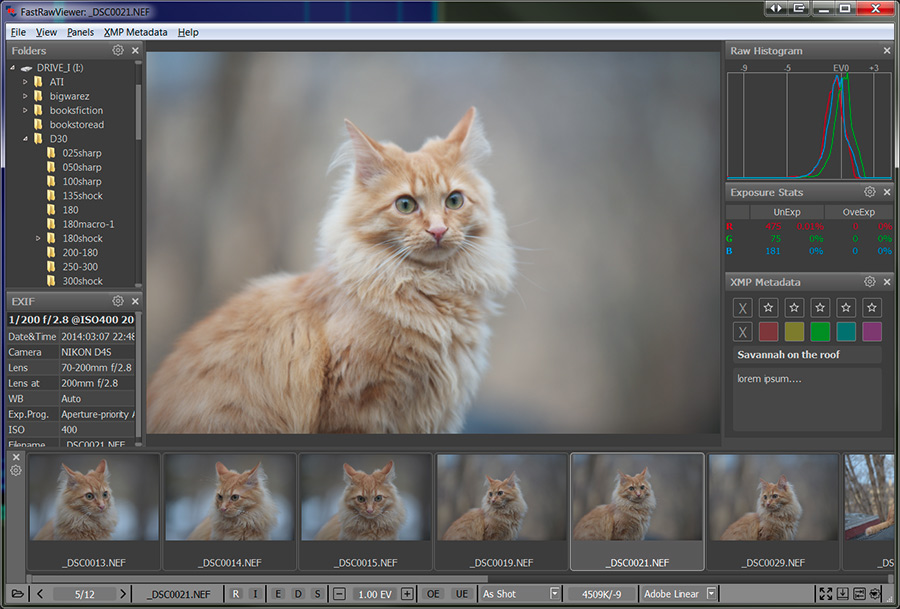
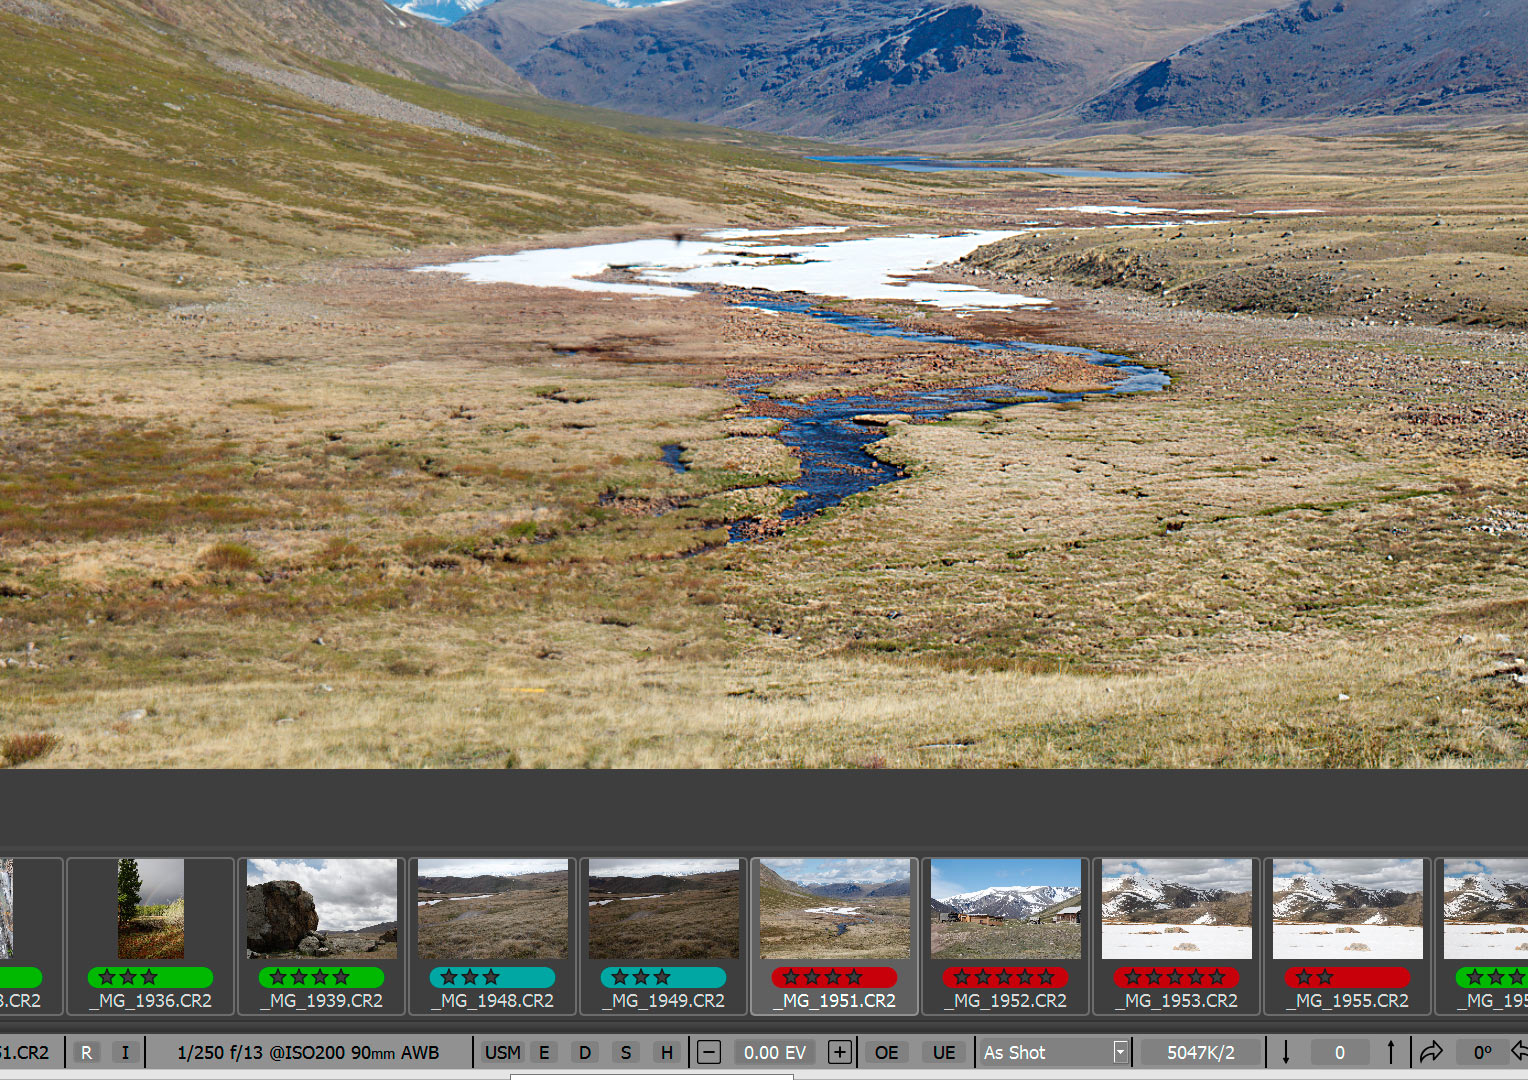
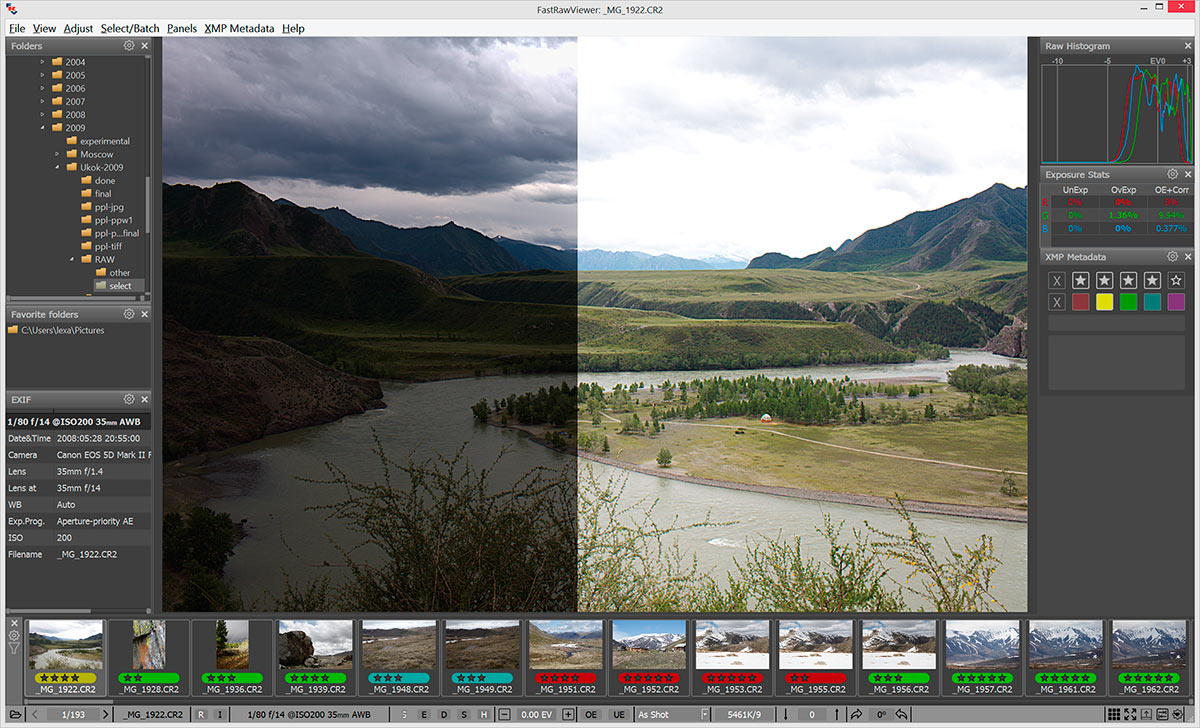
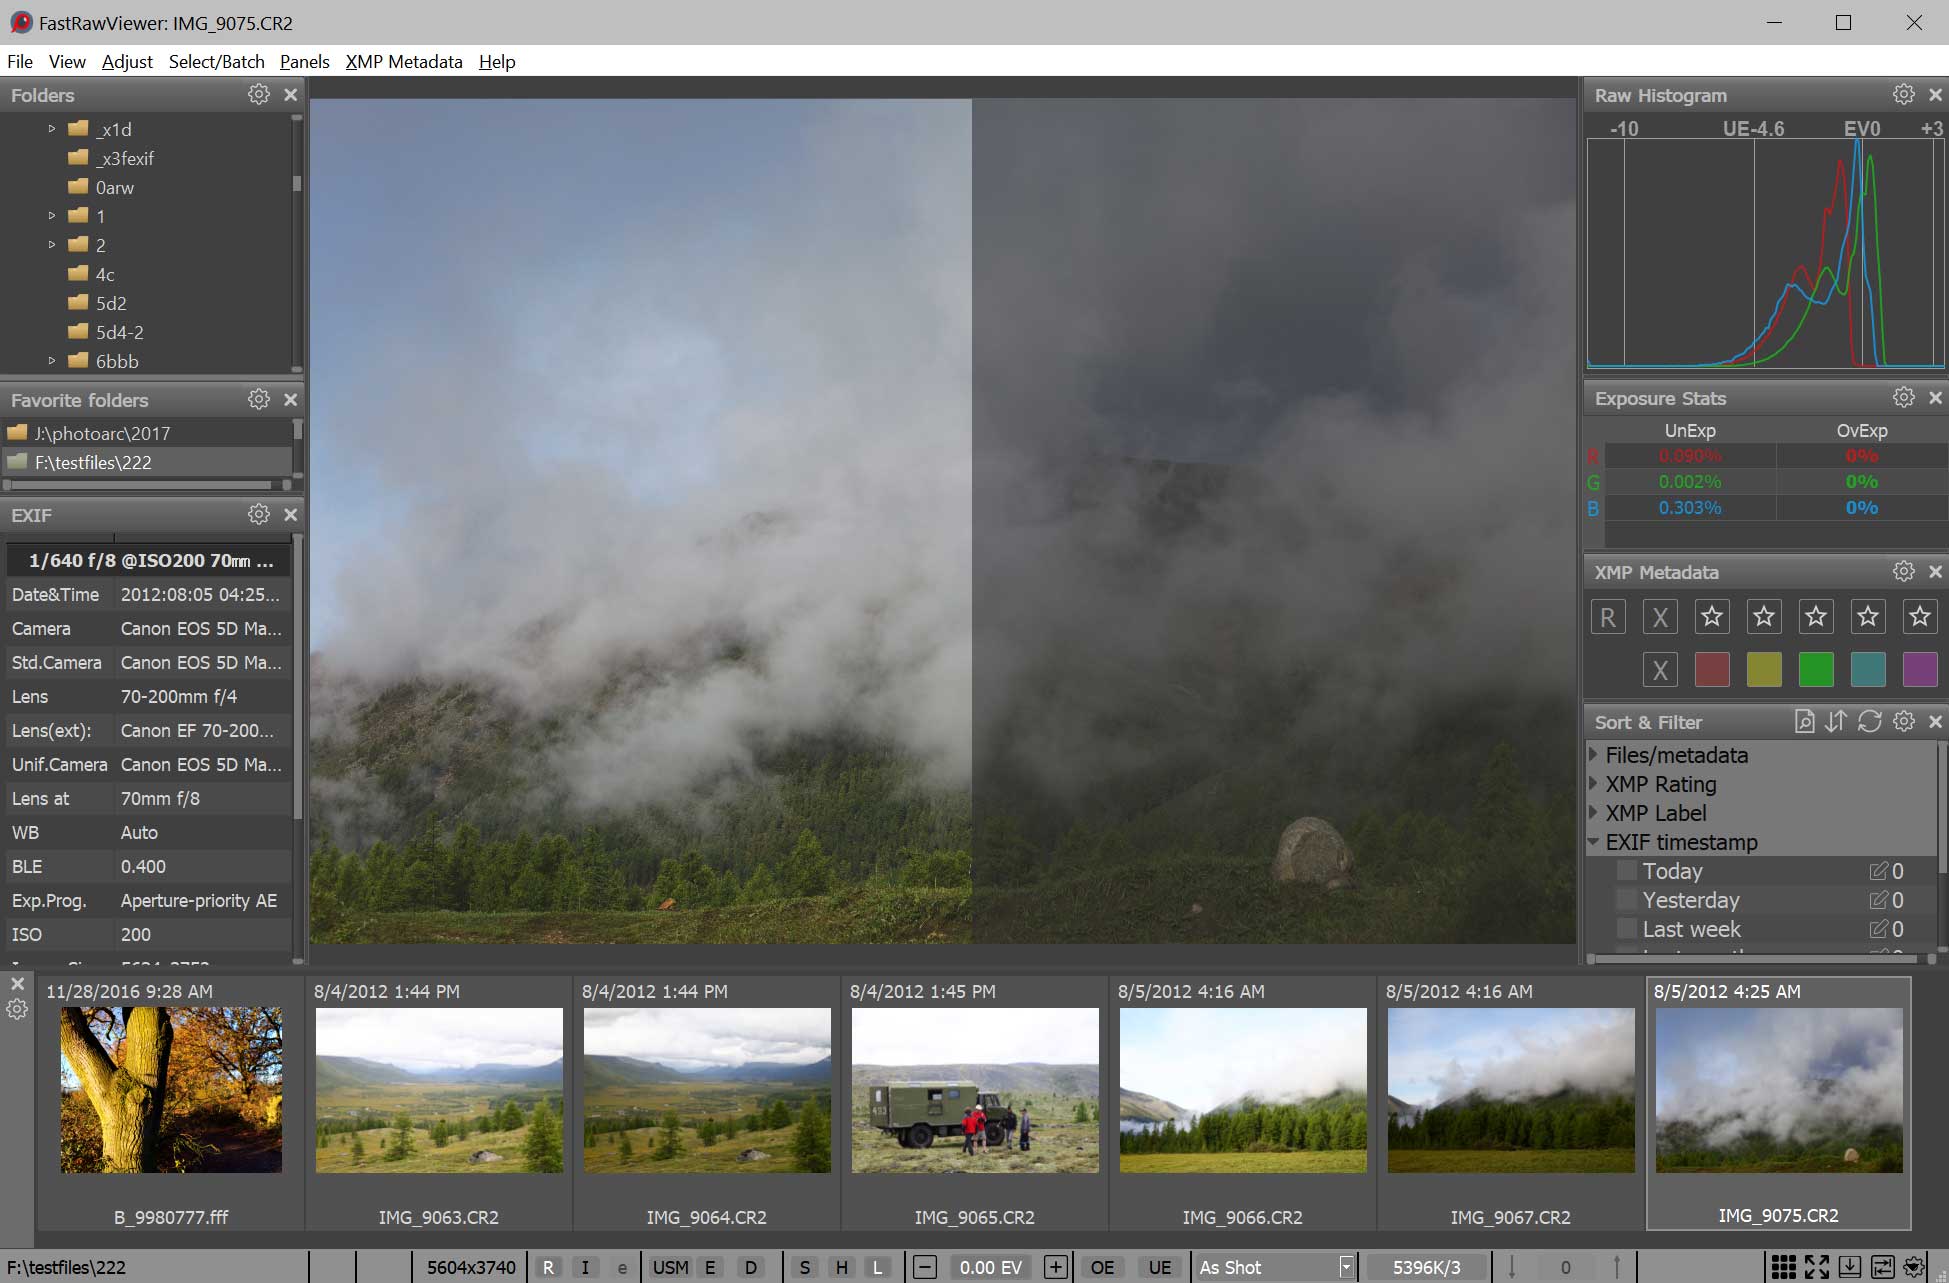
Working with a Single Image
In single image display mode, FastRawViewer displays the image in the main window, while the auxiliary data (EXIF, histogram, exposure statistics, XMP-data) are displayed in additional panels:
Right-click context menu
Right-click within main window area will show context menu similar to that in the grid mode/Filmstrip panel:
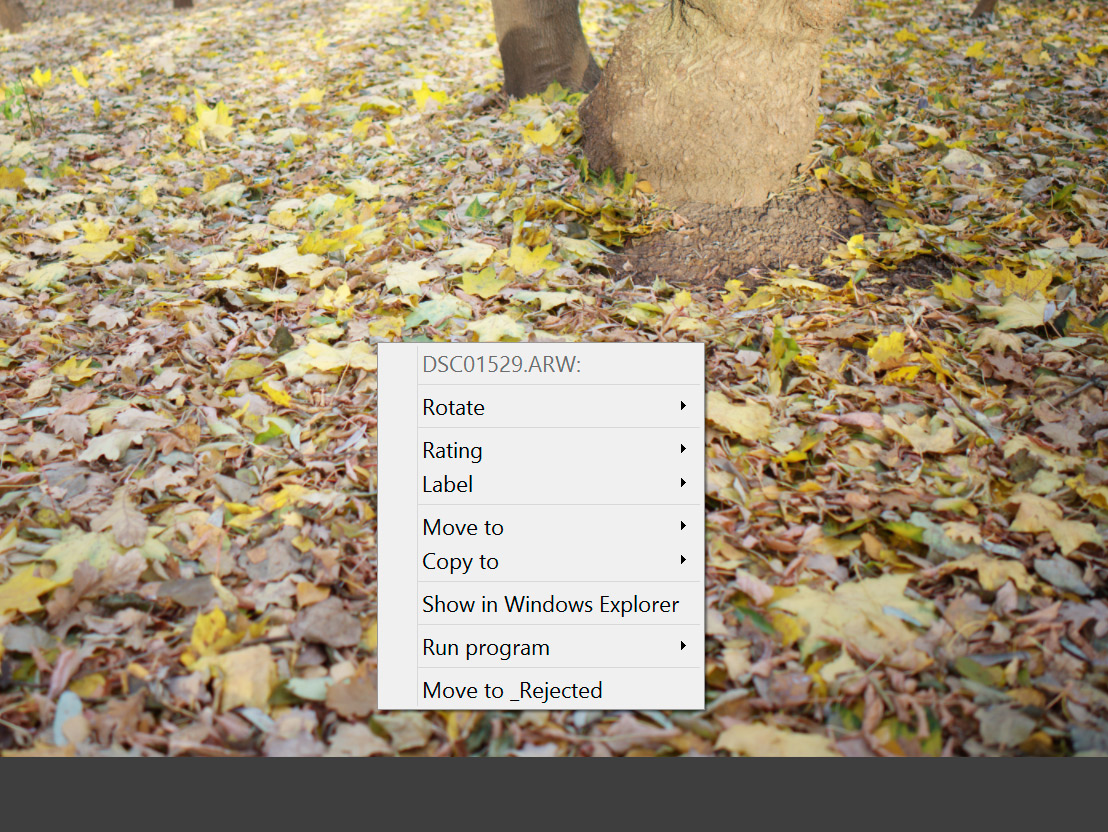
This menu is always for current (single) file even if current file is within selected group.
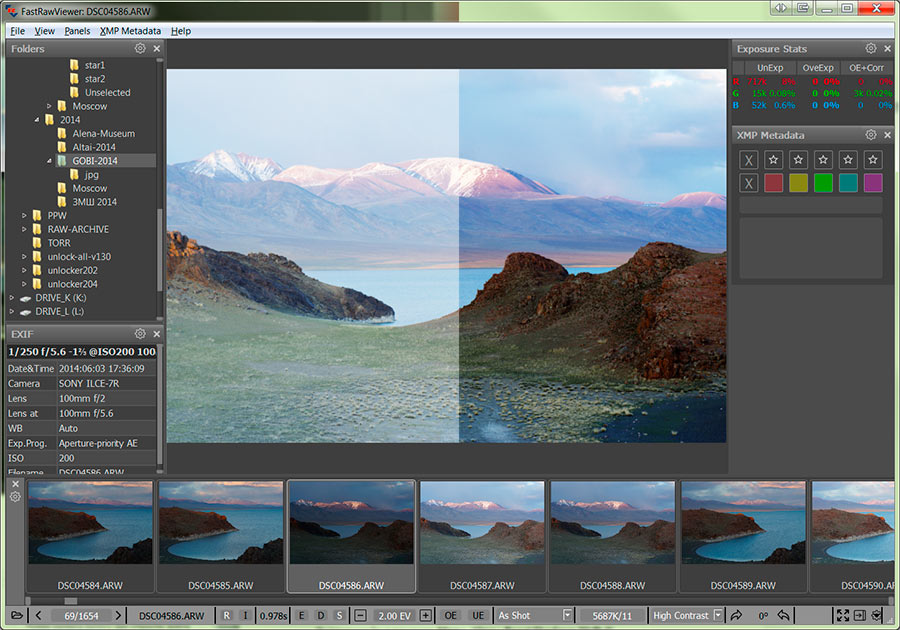
Embedded and External JPEG
For every file, there can be up to three “representations”:
- RAW file.
- Embedded JPEG preview (Internal JPEG).
- External JPEG file with the same name (if the setting Preferences – RAW+JPEG – Handle RAW+JPEG together is on).
The existence of representation is displayed in the status (lower) bar of the program, between the file dimensions in pixels and the EXIF data:
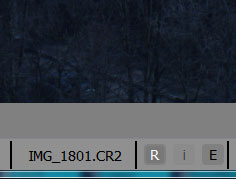
- R I – denotes the existence of RAW and Internal JPEG.
- R I E – RAW, Internal JPEG, External JPEG.
- J – only JPEG (or TIFF, or PNG), without a RAW-file.
A capital letter indicates that the representation is available for viewing. Lowercase means that it exists, but is unavailable for viewing for one of the following reasons:
- i – the internal JPEG is not shown. This is a default setting for when there is an internal JPEG file and the RAW+JPEG mode is on (can be changed in settings: Preferences – RAW+JPEG – Do not show internal JPEG if external JPEG is present).
- r – RAW representation is not shown. This happens for unsupported RAW formats (Sigma Foveon) or for too large RAW files (limits can be changed in Preferences – Performance – RAW file size limit).
- File representation is damaged (errors while decoding of JPEG or RAW data).
To switch between representation use Menu – View – Switch RAW/intJPEG/extJPEG or press the J key on the keyboard. The representation that is currently displayed is denoted with letter indicator going white.
Tuning the behavior of the program in regards to the display of embedded/external JPEG files is done through Preferences – RAW+JPEG.
- Handle RAW+JPEG together – turns on the pairing of the RAW file and JPEG of the same name. If you turn off this setting, the pairing won’t happen – the files will be shown separately and treated as separate.
- Do not show internal JPEG if external JPEG is present – disables decoding and displaying of an embedded JPEG when there is an external one.
- JPEG Decode priorities – if set to “None” for a certain type of JPEG (Embedded – those that are contained in RAW files, External – those paired with RAW files, commonly a result of setting a camera to shoot RAW+JPEG), decoding and display of JPEGs of such types are disabled. Other options (On prefetch, On demand, On file open) – set the event that triggers the decoding of JPEG files. Those options are explained below, in Performance Settings chapter – JPEG Handling section
- Default image to Display (same as Previous/RAW/internal JPEG/external JPEG) – controls what representation will be used for display when opening the next file.
Zooming and Panning
To change the zoom level of the displayed image, you can use the following commands available through Menu - View and also through the keyboard shortcuts:
- Menu – View – Zoom In or Ctrl-+ – magnifies the image on the display.
- Menu – View – Zoom Out or Ctrl—(Ctrl-Minus) – zooms out.
- Menu – View – Fit to Window or Ctrl-0 – changes the zoom factor in such a manner that the image fits into the current size of the window (and when changing the size of the window, the magnification factor will follow).
- Menu – View – Fit to Window width or Ctrl-Alt-0 – the image will take up the width of the window.
- Menu – View – Actual Pixels (100%) or Ctrl-1 – set the image scale to “100%” (each image pixel is displayed as one monitor pixel).
- Menu – View – Toggle Zoom or Z – toggles zoom level between the setting in Preferences and the current zoom level. In more detail,
- If the current Zoom level is less than the value of the “Toggle Zoom” Zoom to setting (this value is 100% by default), then the current zoom/magnification value will be stored and the image will be magnified/zoomed up to this value (again, to 100% for the defaults).
- If the current magnification/zoom value is greater or equal than the value of the “Toggle Zoom” Zoom to setting, then
- If there is a stored zoom value from a previous use of Toggle Zoom, the zoom level returns to that stored value.
- If there is no stored value yet, it switches to the Fit to Screen mode.
If the image does not completely fit into the window:
- Pressing and holding the left mouse button turns on the Drag mode: the image moves with the mouse cursor.
- Pressing and holding the right mouse button turns on the fast panning mode: the program window becomes ‘Navigation Pane’, moving the mouse, for instance, to the top-right corner of the window will show you the top-right region of the image.
Furthermore, the fast combined “Zoom + Panning” modes are available as well:
- Left mouse button + Shift – turns on temporary zoom and Drag mode.
- Right mouse button + Shift – turns on temporary zoom and panning mode.
The zoom factor for these modes is set in the Preferences - Interface - Zoom section:
- Interface – ‘Zoom and Drag’ zoom to.
- Interface – ‘Zoom and Pan’ zoom to.
- Interface – ‘Toggle Zoom’ zoom to.
- If you want to limit the range of the zoom available through the keyboard, please use the following setting: Interface – Zoom – Zoom In/Zoom Out range.
Changing Image Orientation
When you open the image, its orientation is calculated from the XMP file (if it exists), or from the EXIF data and the image is rotated accordingly.
- Menu – Adjust – Rotate 900 CCW (or Ctrl-7) – turns the image 90 degrees counter-clockwise.
- Menu – Adjust – Rotate 900 CW (or Ctrl-9) – turns the image 90 degrees clockwise.
- Menu – Adjust – Rotate 1800 (or Ctrl-8) – turns the image 180 degrees.
- Menu – Adjust – Flip Horizontally – flips image horizontally (changes left and right sides)
- Menu – Adjust – Flip Vertically – vertical flip, change top with bottom.
The orientation changes are recorded in an XMP-file.
De-Bayering (demosaicking): CPU and GPU modes
Most of the current color digital cameras have “Bayer” sensors, that is, each pixel having peak sensitivity to one color component, red, green, or blue. These pixels are arranged in 2x2 square groups, each group having one “red”, 2 “green”, and one “blue” pixel.
De-Bayering (demosaicking) is a common name for interpolation schemes used to calculate 2 missing color values for each pixel (for example, for a “red” pixel green and blue values are calculated) to form a full-color image. Such interpolation is always a trade-off between the image quality (sharp, artifact-free image) and speed: faster demosaicking methods are not as good in terms of image quality as slower ones.
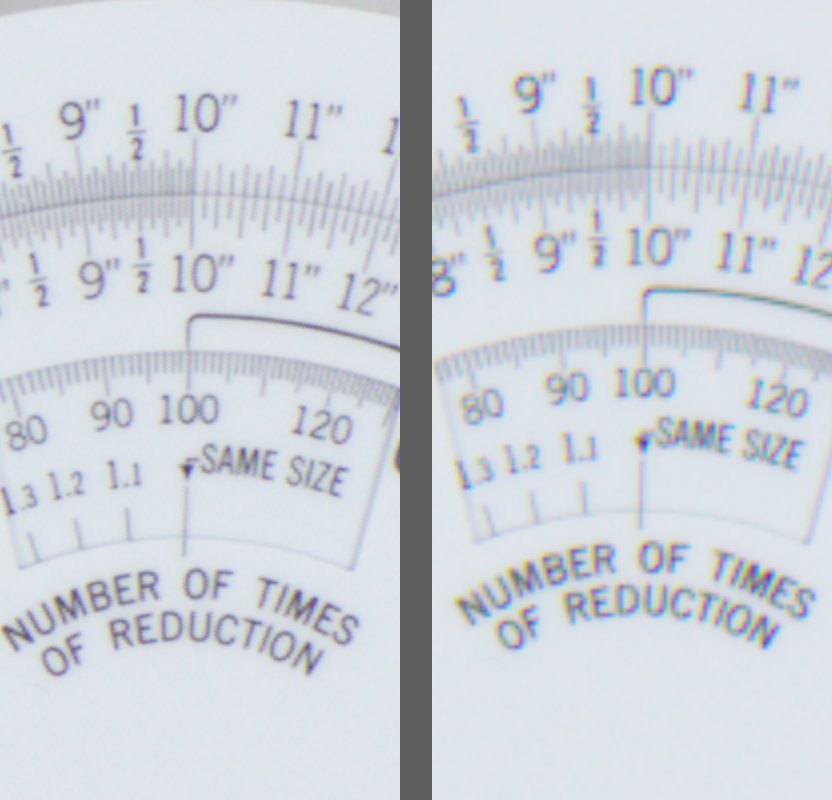
Because FastRawViewer is aiming at fast browsing through the RAW files, we use fast demosaicking methods, and the resulting image quality is not as good as the ones commonly found in commercial, free of time constraints, and also applying default sharpening behind the scenes, RAW converters:
- Maximum speed demosaicking on a CPU
- Fast enough but visibly higher quality demosaicking on a GPU
On the figure below we compare two demosaicking methods implemented in FastRawViewer at about 100%, GPU to the left, CPU to the right:
Demosaicking on GPU works sufficiently fast if:
- The GPU itself is a fast one (7 years old “top speed”, current mid-range). Demosaicking on slower GPUs will work slower than CPU-based demosaicking, but still with acceptable speed, even if it is an integrated GPU like Intel HD 4000.
- The video mode (Graphics Engine) is set to OpenGL or DirectX 11.
Demosaicking on GPU is switched on automatically on the first launch of FastRawViewer if all of the below is true:
- Fast GPU (Intel Iris, Nvidia GTX, AMD/ATI R7/R9/RX/Vega)
- CPU supports the command to convert data to 16-bit floating (Intel Ivy Bridge and newer)
- Video mode is set to OpenGL or DirectX 11 (those will be set automatically on the first launch if the fast GPU is detected)
In all other cases opening a RAW file for the first time with GPU-based demosaicking selected can be slower than with CPU-based demosaicking, but if you still want a higher quality demosaicking, switch to GPU-based one manually.
Changes in RAW rendering parameters (white balance, lightness/exposure adjustments, contrast – see below) are always nearly instant in GPU mode; if you are a heavy user of such adjustments, it may make sense to switch to GPU even if the video card is very slow.
Sharpening for Display
While being processed in a RAW converter, RAW images generally have had some sort of sharpening algorithm applied to them (this is true for both out-of-camera JPEGS and offline RAW conversion).
In FastRawViewer, the sharpening is applied only for display. You can switch between two levels of sharpening and also set sharpening to “off.” The settings are available through Menu – View – Screen sharpening (the default shortcut is S) and also through the USM button located on the bottom bar of FastRawViewer.
The following image has sharpening applied to the right side, while the left side doesn’t:
To fine-tune the amount and mode of sharpening, you can use Preferences – Image Display – Sharpening. We will cover this in more detail in the “Program Settings” section below.
This is also the place where you can switch off the sharpening for JPEG representation, turning on the Sharpen RAW files only setting.
Viewing File Channels, Viewing in Black and White Mode
FastRawViewer allows per-channel view of the RAW file and also conversion to black and white:
- Menu – View – R channel (Ctrl-3) Red channel is displayed.
- Menu – View – G channel (Ctrl-4) Green channel is displayed.
- Menu – View – B channel (Ctrl-5) Blue channel is displayed.
These modes work with internal RGB image (after demosaicking, exposure adjustment, white balance setting).
In these modes, the RAW and JPEG histograms are shown only for the displayed channel. If the RAW file is not RGB, then the histogram will be for the 1st, 2nd, and 3rd channels respectively.
- Menu – View – RGB full color (Ctrl-2) – back to RGB display mode.
- Menu – View – BW-conversion full color (Ctrl-6) – will show the black and white variant” of the image (conversion from RGB is performed using the brightness channel formula, same as the one used while coding JPEG).
Boosting the Shadows
The Boost Shadows mode is intended to assess the quality of the shadows in the RAW: it opens up the shadows at the expense of companding the highlights:
For the image above: on the left part the shadow boost mode is on, on the right, it is off. When the mode is on the indicating S in the EDS group on the bottom bar turns bright white.
You can turn the boost on/off through Menu - View – Boost Shadows (or by pressing Shift-S on the keyboard).
Setting the amount of boost: Preferences – Image Display – Boost Shadows Amount controls the additional gamma adjustment, the range is 0.2 to 2.0.
Inspection of Highlights
Highlight Inspection mode (Menu – View – Highlights inspection or Shift-H) does the “opposite” of the Shadow Boost mode:
- The brightness of the shadows and midtones is decreased, and as a result the image looks darker.
- The contrast in the highlights is increased.
- Additionally, you can “cancel” the white balance, by setting it to “UniWB” in the Highlights inspection settings.
As a result, you can evaluate the details in the highlights (left – Highlight inspection mode on, right – default view mode; as we can see, the highlights contain plenty of details):
Linear display mode
With the default settings, FastRawViewer displays RAW files with the following eye-candies applied:
- An S-shaped tone curve is applied to the image, increasing the contrast in the midtone (see below the section on “Adjusting the Image Contrast”)
- Adobe ‘hidden’ exposure correction is applied (see below the section of the same name), raising the midtone.
With these (default) settings, the RAW display is correlated to the embedded JPEG in both contrast and overall brightness.
Both of these transformations can be turned off through the Preferences; or you can use Menu – View – Linear mode display (Shift-L). In both cases this will result in a “flat, non-contrasty” image.
With the default settings, linear display mode turns on only the linear curve “Gamma 2.2”; the Preferences – Image Display – Ignore exposure correction/baseline exposure in linear mode setting further turns off all exposure corrections (both explicitly applied and hidden).
As mentioned earlier, the result will be a “flat, non-contrasty” image, which corresponds to what the camera captured much more accurately:
(in the illustration, the linear mode is in the right part of the screen, and the regular mode is on the left).
This mode is indicated by the white L button in the S-H-L line (Shadow boost, Highlight Inspection, Linear mode) in the program’s bottom bar.
Adjusting the Image Contrast
FastRawViewer allows one to apply “standard” tone curves (sRGB, Gamma 1.8 и 2.2, L*), but also offers the Variable Contrast mode for tone curves. To switch between those two types, you can use Preferences – Image Display – Contrast Curve Type.
In Variable Contrast mode, the image contrast can be adjusted in “grades”:
- -5 to +5 for “normal contrast”.
- U+0 to U+5 for “ultra contrast” (useful, for example, for underwater photography).
Normal contrast curves correspond to the contrast setting in Adobe RAW converters, process version 2012, from -100 to +100 (with a step of 20); that is, +2 corresponds to 40 on the Adobe scale, while -3 corresponds to -60.
Ultra contrast corresponds approximately2 to Adobe Contrast +100 with the Blacks slider from 0 to -100.
To increase contrast, you can use Menu – Adjust – Increase Contrast (or press K on the keyboard),
to decrease contrast Menu – Adjust – Decrease Contrast (or Shift-K).
By default, the contrast settings are recorded to an XMP file only in FastRawViewer format. To record it in the format that is acknowledged by Adobe converters, turn on Preferences – XMP – Exposure, Contrast, WB – Write Adobe-compatible Contrast/Blacks into XMP file.
Using Monitor Profile For Display
FastRawViewer supports Color Management when showing RAW and JPEG files, however this mode is turned off in the Windows version by default for the following reasons:
- The majority of modern monitors are sRGB (or close to it) and using sRGB as a workspace when displaying RAW gives very acceptable results.
- Furthermore, in many cases supplied monitor profiles are inadequate, and they have a negative impact on the image appearance.
- Moreover, a noticeable number of users have optimized their video settings for computer games, manually turning on the anisotropic filtration of textures. This mode is incompatible with the Color Management function of FastRawViewer.
Color Management can be turned on through Preferences – Color Management – Enable Color management. Further color management settings are described in the “Settings – Color Management” section below. If the system profile of the monitor is set up properly, then further tuning of settings will, most likely, not be needed.
Support for Cameras Modified to Black and White
FastRawViewer supports black and white cameras that are made from color cameras by removing the color filter array (CFA) from the sensor.
This mode is turned on through Preferences – Image Display – Use Monochrome mode for Bayer images, available choices are:
- None – Off
- Always – All Bayer RAW files will be processed as monochrome
- Detect – monochrome images are detected automatically, and if such an image is detected it will be processed as a monochrome (this mode is slower, because first such an image will be processed as a color image)
In this mode:
- Demosaicking (de-Bayerization) is skipped.
- Per-channel viewing is turned off.
- White balance preferences are turned off.
- RAW histogram and exposure statistics are for one channel.
- The image is black and white:
This mode is not applicable to JPEG images; they stay colored.
2 Adobe programs clip the shadows below the setting for “blacks,” in FastRawViewer we use a curve with a very gentle slope.